

I wrote these instructions for myself for future quilts, but thought I'd share them. This is my first attempt at instructions, so any feedback would be appreciated!
Tessellating Star Instructions The finished block for this pattern is 8 1/2", you can adapt the measurements to get a larger or smaller block.
- Draw the pattern on paper, to give yourself an idea of how it would lay out. Draw an 9" square on a piece of paper. Mark 3" in - from the right on the top, left on the bottom, top on the left side, and bottom on the right side

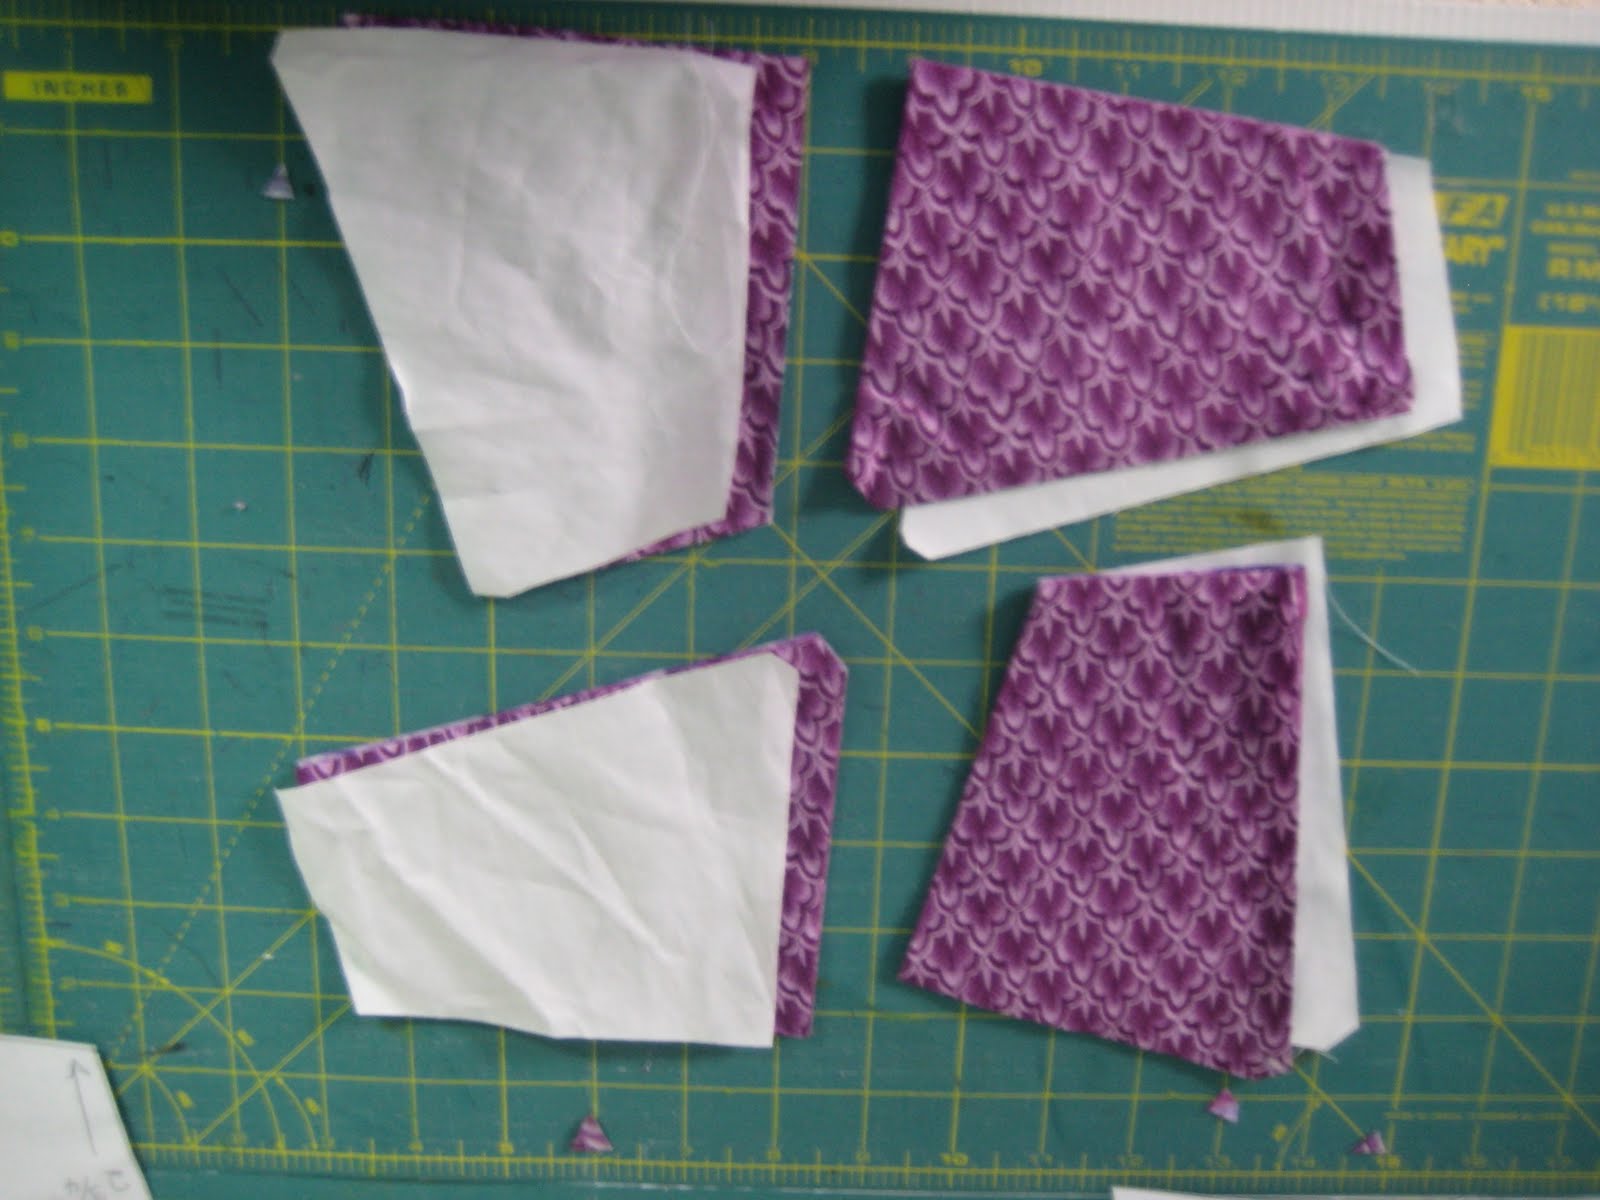
- Connect the marks with your ruler to make an angled four patch. Label each area if you need to. (Cut apart in case you need to us for a template on scraps. Note for scraps: All pieces must be right side up).


- Pick your fabrics and cut into 9 1/2" squares. You will need one square for each star.
- Decide how many stars you want in each row and how many rows you want. Make one stack of squares for each row. Stack them in the order you want them to be on the quilt. Look at each stack, and each row to be sure you have the colors the way you want, and move them around if you need to.

- Make a stack of the background fabric also (you'll need one square for each row, and one square for each star in a single row).
For example - if you have 5 finished rows of 4 stars, you'll need 20 colored squares (in 5 stacks of 4 squares), and 9 background squares.
- Cut each stack to 8 1/2 inches so that the edges are even.

- Mark the top square in each stack like you did on the paper pattern, 3" inches in - from the right on the top, left on the bottom, top on the left side, and bottom on the right side.
- Line up your ruler with the marks, and cut the vertical cut, then, without moving the fabric, cut the horizontal cut. Separate each stack.

- Take the bottom row of each stack, and place it on the top (bottom row on top, top row on the bottom). This is what makes the pattern work. The pictures show just row 1 and 2, you do the same for each stack.

- Put a piece of the background fabric on the top of each stack on the left, and on the bottom of each stack on the right.
- Sew each row together at the center seam. Press all seams in the same direction (I pressed toward the narrow end).


- Sew the rest of the background pieces the same way. Half will go at the top of the quilt, half will go at the bottom.
- At this point, I find it easier to lay out the rows on my design wall. As you can see, each row is laid out large end to small end, with colors matching between pieces. Every other row faces the opposite direction. The background pieces are placed as the top and bottom rows.

- Sew the angled seam on each piece, matching up the seams, to make the square blocks. The top background row pieces will be sewed to Row 1 pieces. Rows 2 and 3 are sewed together, rows 4 and 5, etc. Press seams.
- Sew the blocks together into rows. The seams will not match up. Press, alternating direction so blocks nest together in the next step.
- Sew the rows together, matching seams. Press.

No comments:
Post a Comment
Note: Only a member of this blog may post a comment.